How To Make Anything into a Chalkboard with Dixie Belle Chalk Mineral Paint – Easy Tutorial & Video
- ajsvintagedesigns
- Sep 4, 2021
- 4 min read
Updated: Jan 12, 2023

Did you know you can turn any surface into a chalkboard using Chalk Mineral Paint? This was a broken mirror from a dresser. Instead of throwing it away or paying to have it replaced, I turned It into a chalkboard using 2 coats of Dixie Belle’s Chalk Mineral Paint.
I made a quick Tutorial & Video with all my tips & tricks so you can do it yourself!
Follow along with the Video Tutorial here: DIY Chalk Board from a broken mirror – YouTube

You will see bold colored text in the product list, those are links to each product so that you can locate the products easily if you are wanting to purchase them.

Step #1 Clean & Scuff Sand
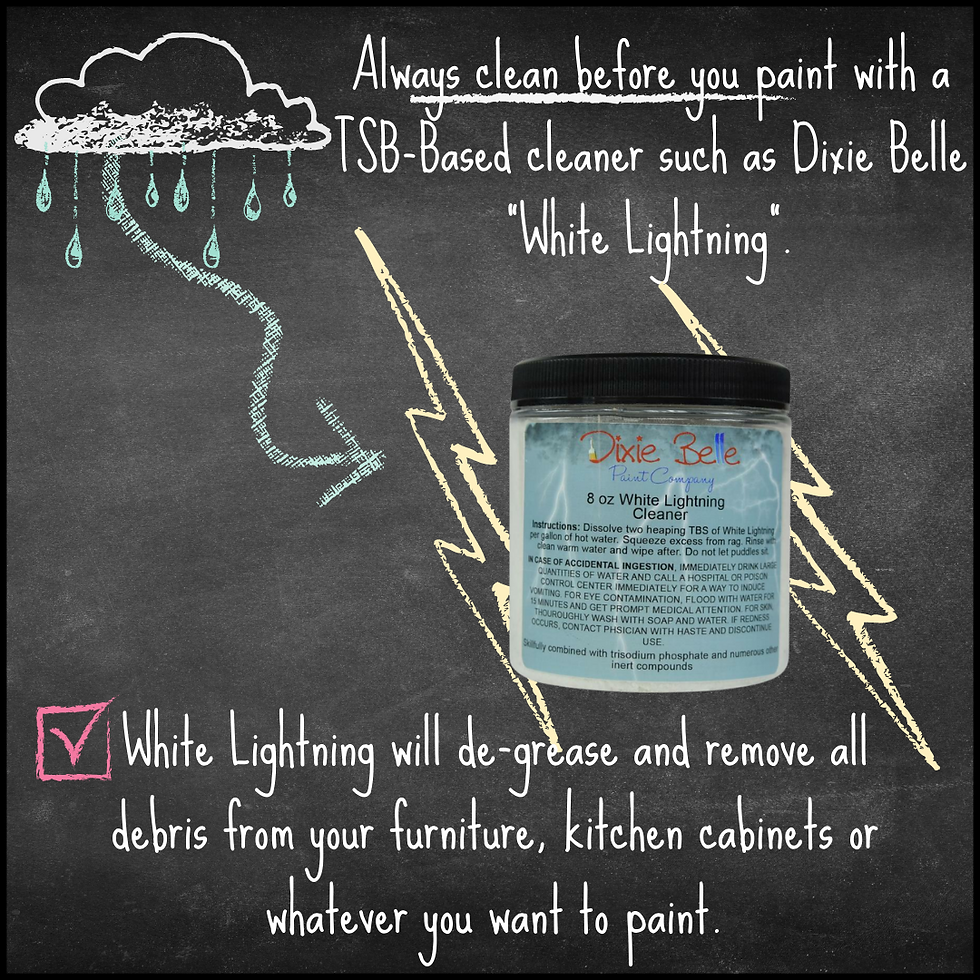
Before I do any painting, I always clean it first with a TSB-Based cleaner such as Dixie Belle “White Lightning”.
This will remove any oils or dirt, and help the paint adhere properly.
Afterwards, clean it really well with water and a rag to remove any residue, and let dry.

Next, give it a light scuff-sand using 220 grit sandpaper.
Wipe it down once more with a damp rag to remove any dust, then you’re ready to paint, unless you need to make any repairs first.
Step #2 Fill in Cracked Wood using Dixie Belle Mud
If there’s holes or deep scratches in your wood, you can fill them in before you paint them, no problem.
There was a big scratch where the mirror was, so I filled it in using Dixie Belle Mud in “Black”.


(I also have a tutorial showing how to use the mud for veneer) You can watch it here: How to Paint & Flip a Piece of Furniture, a Step-By-Step Guide & Video Tutorial | AJ’s Vintage Designs (ajsvintagedesigns.com)
After you apply the mud, let it dry for 24 hours, then lightly sand it down to a smooth finish with 180 or 220 grit sandpaper.
Wipe it down with a damp rag to remove any sanding dust.
The Mud is porous when it’s dried, so I always seal it with a coat of Dixie Belle Satin Clear Coat to create an even surface to paint on.
This will prevent your paint from soaking into the mud and having uneven colored spots.
Using a small craft brush, apply clear coat ONLY where the Mud is applied. You don’t need to do the entire surface, only the spot that you’re filling in.
Step #3 How to Get a Chalkboard Finish using Mineral Paint
You can use any color chalk mineral paint to do this, but I used Dixie Belle’s “Caviar” with Dixie Oval Medium Brush to paint.
You want to use the Chalk Mineral Paint from Dixie Belle for the chalk board (not the Silk… I just used the Silk on the Frame and not the actual chalk board).
The trick to getting the perfect finish is to apply 2 coats in opposite directions.

When I apply my first coat, I’ll be painting up & down all in one direction.
After it’s dried for 2-4 hours, apply the second coat going from left to right, all in one direction.
Don’t sand or seal it, and you’ll have the perfect texture.


Once it’s dry, I recommend that you “season” it to make it easier to clean off residual images.
Here’s how you do it:
Take a piece of regular white chalk on its side, then rub it all over the chalkboard until it’s covered in white dust.
Wipe it clean with a dry cloth, and it’s ready to use!
You can write on it with chalk, wipe it off with a rag, and it’s good to use again and again.
Step #4 How to Start Painting with Silk All-In-One Paint
For only the frame, I used Dixie Belle Silk in “Quiet Cove”.
No priming or sealing required, just 2 coats of paint for a smooth & stain resistant finish.

There’s a difference in how to apply Silk from Chalk based paint, so here’s a few tips to get you started:
Silk is not chalk-based, so you won’t be using water to apply it. Put your water bottle away so you’re not tempted to grab it!
Stir your paint really well to get the formula evenly mixed.
This is not a blending paint, it’s for getting solid one-color coverage.
Use long smooth strokes to apply, being careful not to overwork it.
Wait 2-4 hours to dry, then apply your second coat.
There’s no sealing required because Silk has a built-in top coat.
If you want to add extra durability, you can apply any sealer or topcoat that you like.

I hope you enjoyed this tutorial & you’re thinking about what to turn into a chalkboard next! Put some comments down below if you do!
You can also watch my free tutorial How to Make a Chalkboard on Glass Frames here: DIY Your Own Chalk Boards from your old glass picture frames – Bing video
To watch how I created the table in the picture, you can watch my free Youtube tutorial here: $100 Challenge Youtube Thrifted Furniture Make Over – YouTube
Make sure to follow me on all my social media platforms. I’m always sharing Free Painting Tutorials and Videos, plus easy tips and tricks for painting furniture!
Instagram: https://instagram.com/ajsvintagedesigns
Facebook: https://facebook.com/ajsvintagedesigns
TikTok: https://vm.tiktok.com/Zmeyde89F/
Dixie Belle Products for this project:

Kommentare